
Introduction
As you might know, App Volumes has the so-called “Apps on Demand” feature. This awesome feature basically delivers the application when the application is started and not during the computer startup of the user login process.
When the app is only delivered at startup, you might think about how to deal with delivering the shortcuts. This blog post will talk about two options on how to achieve this, specifically for published desktops, and will give you some tips as well!
The options
There are two options to deliver the shortcuts within the published desktop; you can do this either through App Volumes itself, or with a user profile management tool, for example VMware DEM.
Whatever you do, make a choice before starting the project. My recommendation would be to not mix this up.
Option 1: Delivering application shortcuts with App Volumes
With this option, the application shortcuts can be offered in the All Users Start Menu and/or All Users Desktop during the package process.
The folder locations are:
- %programdata%\microsoft\windows\start menu\Programs
- C:\Users\Public\Desktop
Advantages:
- Less complex. Using this method, configuration within a user profile management tool is not necessary.
- Application shortcuts icons are visible by default and no workaround is needed.
Cons:
- Less flexible and error-sensitive. In case of a shortcut adjustment, the package will have to be updated or recreated. In addition, adjusting shortcuts can be forgotten, resulting in shortcuts having an incorrect naming convention or being placed in a folder structure that is not correct.
Option 2: Delivering application shortcuts with a user profile management tool
App Volumes provides command-line delivery options to get applications delivered in real time. When the following command runs, the App Volumes agent gets the application package delivered to the end user and the application or file is launched:
- <svservice.exe path> app run {application_guid} <exe_path> <arguments>
In this screenshot, you see the VMware DEM configuration I used:

- Target: C:\Program Files (x86)\CloudVolumes\Agent\svservice.exe
- Arguments: app run a60ac700-11a5-49f4-84a6-ca2eb821cf73 “C:\Program Files\Google\Chrome\Application\chrome.exe”
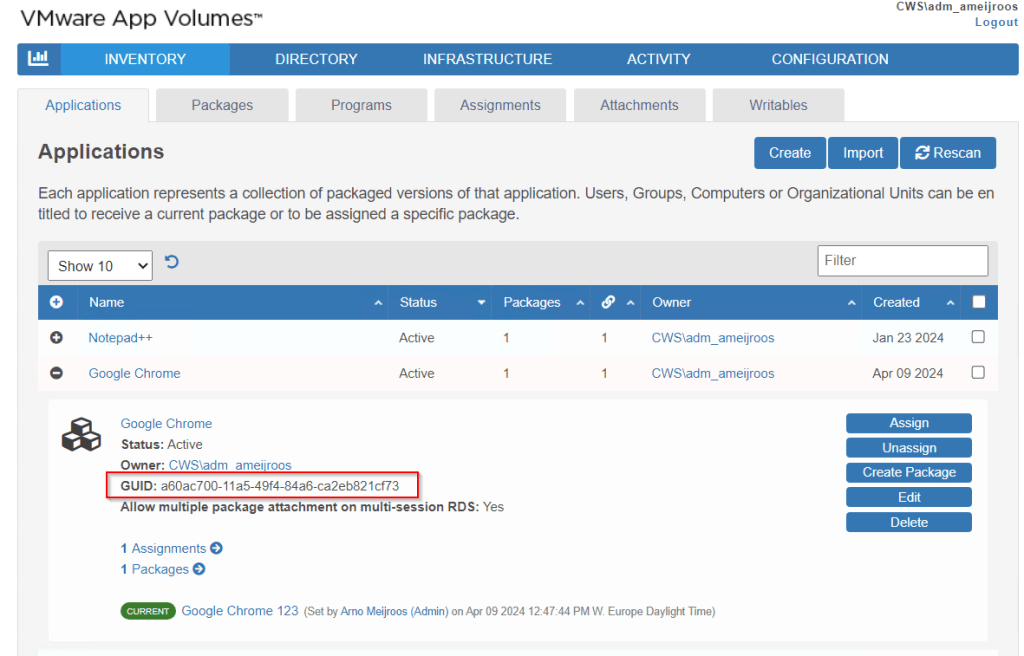
The GUID is the application ID you see in the App Volumes Manager Console:
Advantages:
- More flexible: Through a user profile management tool you can determine which name the shortcut should have and in which folder structure it will be placed.
Cons:
- You will have to remove the application shortcuts from All Users Desktop and All Users Start Menu during the package process (otherwise you might get them twice!)
- Shortcut icon files are white before starting the application unless the “.ICO” files are offered on a central share.
- More complex: Requires an additional step in a user profile management tool after creating each package. Moreover, the same application AD group must be set as a condition on the application shortcut properties that is also set as the package assignment within App Volumes. You do not want to have a situation where users see the shortcut and do not have permission on the app volumes package itself.
Tips & Tricks
Here are some tips & tricks on how to deal with the white shortcut files, when going for option 2.
Like I mentioned above, the application shortcuts are by default white. When placing the .ICO files on a remote share, the shortcut will stay white unless you configure the Group Policy setting “Allow the use of remote paths in file shortcut icons“

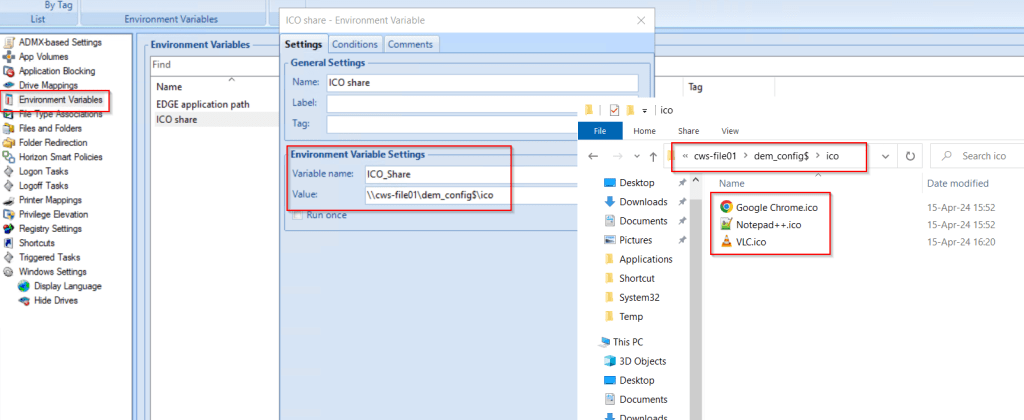
When using VMware DEM, you might think to use the VMware DEM config share -> Application folder -> icon files. This is not a great idea because these icons are quite small and will give a very low resolution to the icon files.
A quick fix to get the high-resolution files is to log on to the VDI session containing the App Volumes Apps on Demand assignment and browse to %programdata%\VMware\AppVolumes\PackageData folder

In there, you will see a random subfolder containing the application GUIDs with the high-res application icon files. Just copy and paste these icon files to your remote share and configure this with your user profile management tool. Of course, feel free to use any other means to create or gather high-res application icon files yourself!
Here is an example of how I presented the high-res application icon files through VMware DEM:

That’s it!


Leave a reply to Week 16-2024 VMware Enduser Computing Updates – Welcome to the anywhere workspace Cancel reply